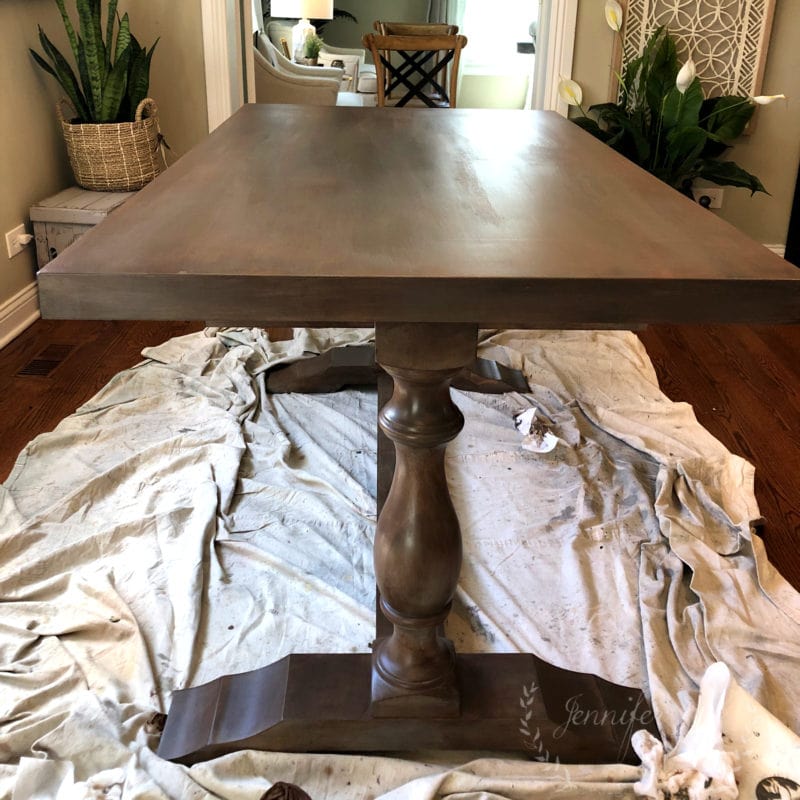
Just like you, I love a good furniture before and after! I have a Painted Kitchen Table Makeover to share with you from a recent project. We have a design client at the shop that I’ve been working with to restyle and redefine her home, including updated lighting and furniture. One thing we knew needed to go was her old kitchen table. It was actually the first table they bought 20 years ago. It was a good quality, but the shape wasn’t very efficient for their family,or the use of the space. Also, there was a lack of lighting in the kitchen as well, which we fixed with a beautiful transitional chandelier.

Due to the layout of her kitchen we decided to have a custom kitchen table made. Unfortunately, when it was delivered, the finish and color were completely wrong. Since it was too much trouble to send it back and have it re-done, we decided it was time for me to dust off my bucket of furniture painting skills. I do love a good furniture makeover. One of my favorite makeovers was the time I did a dip-dyed effect on my kitchen table legs, and made over this dresser.

Even though the gray finish would be pretty in another setting, in this space, it was just too cool of a tone., and there was some patchy-ness in the final finish to the top. We decided when I painted it, to treat the gray as a base color, or undercoat for our painted kitchen table makeover.
(This post contains affiliate links)

We decided to warm it up and give it a richer look so it fit better with the decor of the home. After prepping the piece (if you want to see the best way to paint furniture, check out this post here.) I started by layering by layering a warm, brown paint as a wash. Basically, I applied brown paint outdoor paint with a damp paper towel. It acted like a glaze to tone down the gray, almost like I did a gray-wash finish on this cabinet. You can see how the brown paint really transforms the color of the paint. The thing about using the paper towel instead of a rag is that it holds the paint differently. In fact, the nastier the paper towel gets, the better it works. The key is to not skimp, and use a good quality paper towel. The Cheap ones don’t hold up enough.

I should probably wear gloves when I paint, but I always forget. I’m lucky I remember to wear old clothing sometimes. Once I had gone over the entire table with the glaze, I started back at the beginning again, and this time went over areas with a darker brown paint with the same technique.

After that paint was dry. I used an old brush to lightly dry brush on a white paint to add a wood grain-ish texture to the top and sides of my painted table.

In areas where I thought the white was a little too bright, I just went over them with a little bit of the original brown color.

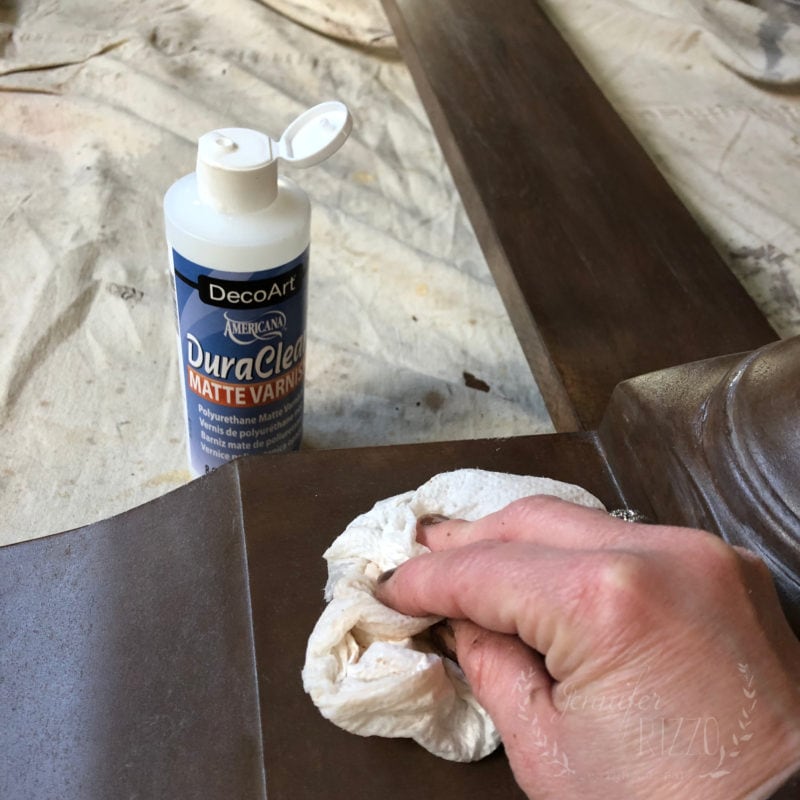
Once that dried, the table was ready for some sealer. Since the paint already has sealer in it, I just used a basic varnish for an extra layer. Here is a great post on whether to finish your painted furniture with a varnish, or a furniture paste wax.

I and the homeowner both were very excited at the transformation. The table had stuck out like a sore thumb before, and now it blends seamlessly, and looks like it belongs in the space. The chandelier just makes it look even better (find it here.). There is still a little bit of the gray undercoat that pokes through, but that’s OK. As time goes on, and it gets used, it will add to the character of the table.


The post Painted Kitchen Table Makeover appeared first on Jennifer Rizzo.
from
https://jenniferrizzo.com/2019/04/painted-kitchen-table-makeover.html

No comments:
Post a Comment