Hello and happy weekend! Some 20+ years ago (while crawling through a playset with my younger sister), I tweaked my lower back. Since then I have flare ups if I don't stay active and stretched out. Well with all of our travel and moving of late, I haven't been working out as much. My back was so bad this morning I could barely get out of bed.
Thankfully thanks to some prescription pain meds and some stretches, I'm feeling SO much better. No big activity for a few more days at least, but I can walk standing straight up again, so that's a bonus! ;) Anyway...that's what's been going on around here.
Lots of progress on the new house that I'll fill you in on next week! We still don't know for sure when we'll move in...I'm honestly a little afraid to find out because I know it will be longer than I have in my head. 😬
I am going to do a recap of each room in our old house -- photos through the years and the big changes I made. I shared the guest bedroom last week and this week it's the kitchen. This room was such a labor of love for me and one of my favorite renos in the house. Over the 13+ years it underwent a lot of changes!
Here's how it looked soon after we moved in -- we ended up adding these laminate floors about two years in. Before we had vinyl in the kitchen and carpet in the family room:


I don't remember why we only had three chairs. 😆 My Dad passed down this set and I have a feeling the fourth broke at some point.
I later completed my first makeover on the island (first of MANY), with black beadboard. And look! Four chairs!:

Those no sew roman shades were one of my first blog posts that kind of blew up -- anyone been around that long? :)
I picked out everything when we built -- and I still question the glossy black tile backsplash:

Keep in mind this was era of gold and red -- so this kitchen fit right in with the maple cabinets and dark accents.
But my style changed...and slow but sure I started making changes to brighten up the space. My cheap beadboard backsplash made a big difference in here -- and I glued it right over the tile!:

I replaced the door with a glass one from the hardware store and painted it black:

That table area was super tight -- it didn't look like it in photos but between the back door and the pantry door it always felt tight to me. I made over an IKEA table into a farmhouse style and this size worked a lot better for this area:

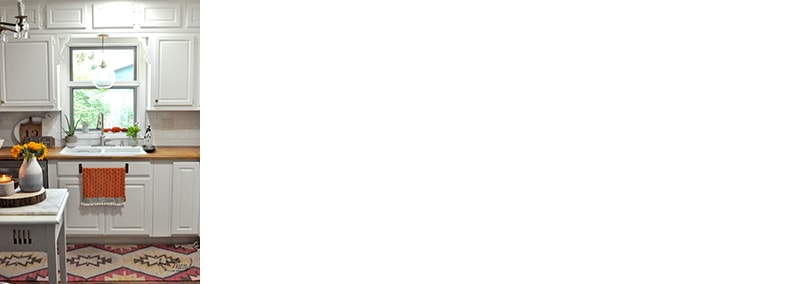
Then I painted the black island, added some trim and replaced the laminate counter with butcher block:

Those simple changes made a BIG difference in here!
Three years ago we started a family room project that spilled over into the kitchen. Because of that we were able to shift our table over and really open up the whole kitchen. Two years ago I started the HUGE project of making over this whole space!
We moved the back door so that bay window became my dream spot...a window seat!:

Many of you have asked why I'm not adding a window seat in the new house -- umm...do you even KNOW me?? ;) I already have one planned in a perfect spot. It will probably be one of my first projects in the house.
I will link to many of the projects down at the bottom of the post, but here's a brief run through. I took down a few cabinets on the long wall and added a vent hood and lights instead:

I added onto the island and made it about 6 1/2 feet long -- I kept the old island and made it even more functional (and pretty!):

I added to the top of the old cabinets on the other wall and then painted everything myself:

I later added under and upper cabinet lighting as well. One of my favorite additions! This room was completely transformed and I think I'm most proud of this renovation. I worked by butt off on this room and it was done well.
I was super proud when the inspection came back for this room when we sold -- every single item on the list was marked as "satisfactory." Which doesn't sound like a glowing review, but on an inspection that's as good as it gets. ;)


I later added a few touches like a few new pillows on the window seat:

And some wood trim around the chalkboard:

And a few decorative additions:

I'm SO crazy proud of what I accomplished in this space. It was completely transformed and I did most of it myself. We would have paid someone at least double what I spent to do what I did.
Here are some of the projects I mentioned above:
I listed ALL of the projects for this space here, so be sure to check that out to see it all! I hope you enjoyed this look down memory lane in one of my favorite rooms of the old house! 💗
You can find a lot of the products I used by clicking through the photos below. Some aren't exact (not available anymore) but are very close matches. I'm asked about that large clock by the stove more than anything and you can find that here. I still love it!
Here are some of my favorite pieces from the room:

from
http://www.thriftydecorchick.com/2017/09/my-biggest-renovation-ever-our-kitchen.html