Hey all! Happy Friday! It's been such a busy few weeks, I'm ready for the weekend! It's going to be packed full of stuff as well but will be a fun one.
I have a fun post for you today! I attended a floral arranging class last night at a local winery with a friend and it was such a good time. If you Indy folks haven't been to Daniel's Winery you need to check it out! My friend designed it and did an amazing job. (You feel like you're in the middle of Napa, no joke.)
Anyway, I love arranging flowers but by no means consider myself an expert. I'm always willing to gain more knowledge about the process. And I learned a ton! It was so informative and fun -- such a great night out! Our instructor shared some helpful info and I'll share more of that below.
When I add greenery to an arrangement I tend to wait till the end. She showed us how using them as a base really brings the arrangement to a new level.
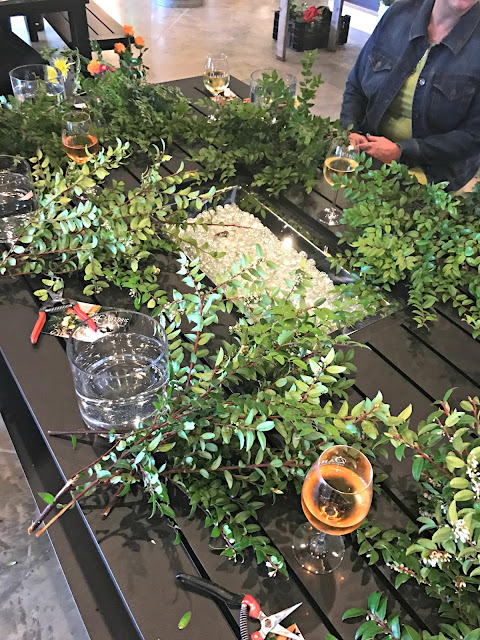
We started with a base of greens that look like boxwood:
I believe she called this husk but I can't find info online so I may have gotten that wrong. It's a pretty leafy green plant with delicate white flowers.
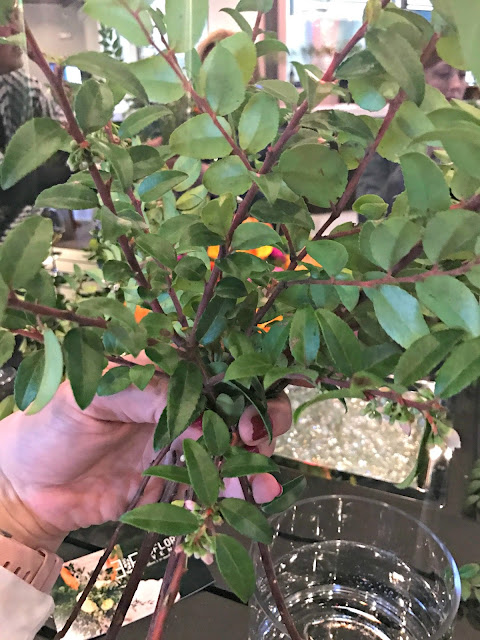
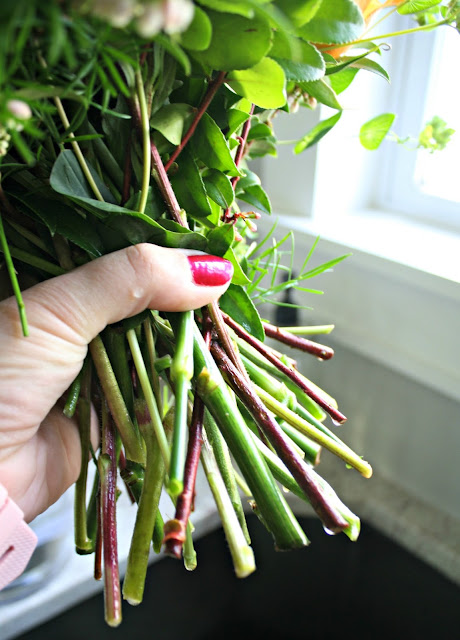
She showed us how to "lace" your greenery to start. I've never heard of this or seen it, although I do tend to do it with my flowers at times and didn't realize what I was doing. It's brilliant though -- you can trim down your stems a bit till you have sections that "V" -- so that you can start putting the stems through each other:
It's hard to see here but it kind of locks them together. You just keep lacing the stems in with each other and then trim them down and drop them into your vase. They create a spot for everything else to fit into as well.
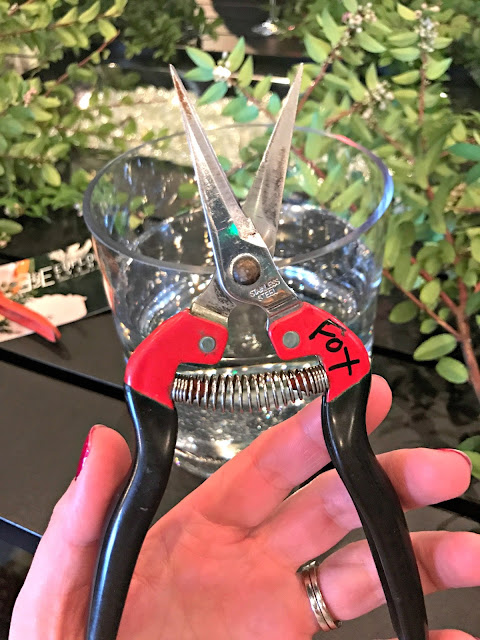
It gives your arrangement a pretty base to start with and I loved it. They also shared the importance of good floral snips:
We all hung our heads when she said to never use scissors to cut flowers. 😂 Our instructor mentioned that they are rarely sharp enough and tend to close off your stems -- a clean cut will leave them open for water. I immediately went home and ordered these floral snips to try at home. I'm excited to try them.
Once your base is set you use that to continue to "lace" the other greenery and flowers into that. At the end it will be so full it may be hard to get more in there! It creates a tight base that just looks nicer in glass vases and is helpful for another reason that I'll share in a bit.
We started with the larger flowers and she emphasized the importance of threes in floral arranging. Just like in decor! We used three of each one to start and because it was so fun, most of us had a hard time stopping and ended up adding more. But in general, odd numbers are more pleasing to the eye.
Here's what her arrangement looked like for us to use as an example:
Gorgeous right? The colors were STUNNING. Not normally something I would gravitate too but I loved them and plan to use this combo more.
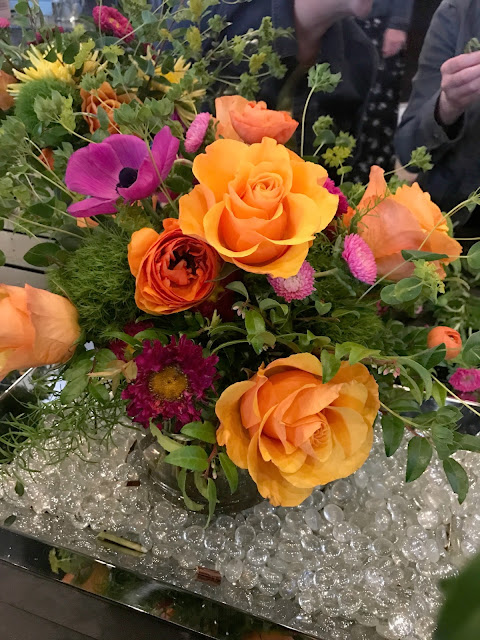
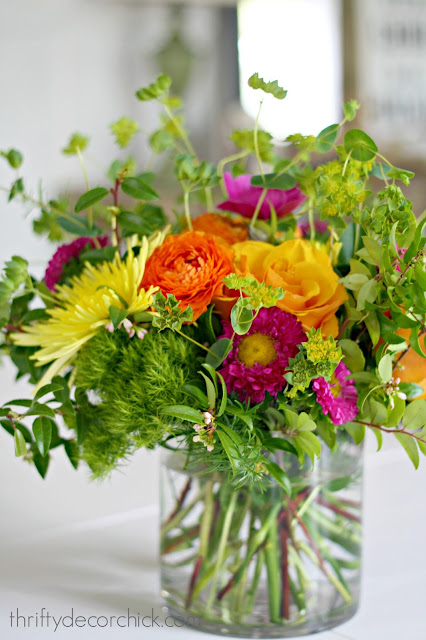
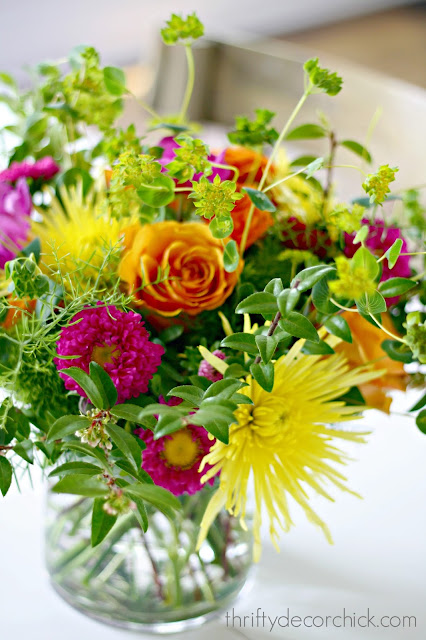
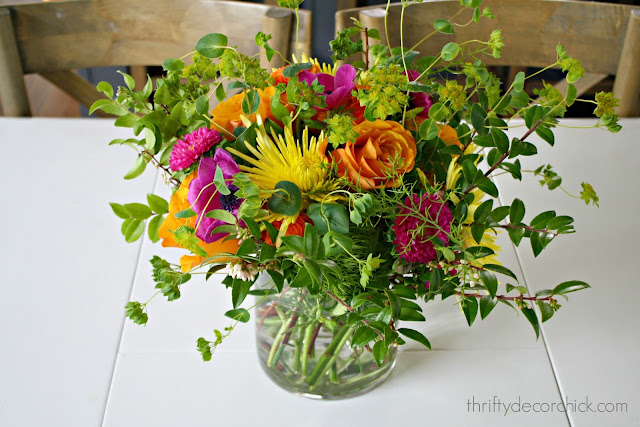
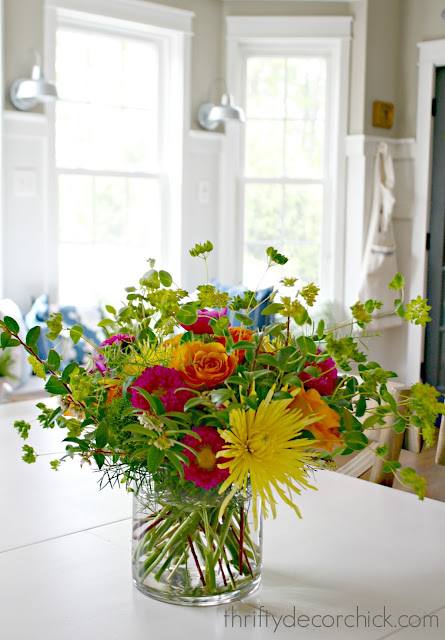
And this is my version:
I am so pleased with it. Aren't the colors amazing? Here's a list of what we used in our floral arrangements:
These were the base and filler:
- Husk (boxwood looking greenery)
- I must have written the delicate little greenery down wrong -- I thought she said Bopernum but I can't find it online either! It's this dainty greenery (the ones sticking up) with lily pad looking leaves and small little blooms. I am obsessed with it.
- Green trick dianthus -- it's a puffy moss ball
The flowers were the following:
- Tycoon rose -- beautiful (large) orange roses
- Yellow Fuji mums -- bright yellow with big heads
- Orange ranunculus -- my favorite! I've never seen orange before.
- Matsumoto aster -- the dark purple with a yellow center
- Bright pink anemones -- one of my new favorites. Love them and will be looking to plant them.
And the lacing trick worked! It allows you to easily lift the whole arrangement out of the vase to change the water:
It stayed together in a tight bunch! Awesome.
Here are some more tips she shared with us that I found interesting:
- It is important that you don't let any leaves touch the water. Remove anything that will be under the water line. I've done this for years and it helps to keep the water clean and stink-free. The leaves will rot quickly if you leave them in water.
- If you cut a flower and place it, then move it a few minutes later, she suggested to snip the end again. They seal up surprisingly fast.
- Most of the time when you get roses there are "guard" petals around the bloom. Sometimes they are discolored or torn -- these can be removed. There are only two to three on each bloom.
- Healthy rose petals should be thick (I was shocked at how thick they were!) and almost leathery. Petals that feel silky smooth won't last as long.
- Her method is greenery first, larger blooms, then smaller and then finishing up with lighter greenery as filler at the end. I always added greenery last but using it as a base makes it look so professional.
Obviously this was not a cheap arrangement, we got more than our money's worth for this class! But I think the tips carry through to florals you can put together with just carnations (that are way underestimated by the way) and some greenery clippings from your yard!
I'm excited to branch (har...branch) out a bit and stretch my arranging skills. Everyone who attended used the same flowers but they all looked surprisingly different...and beautiful!
We all commented on how relaxing it was to do this. It forces you to concentrate on the task at hand and of course flowers just make people happy. :)
Have you tried your hand at floral arranging? I quite enjoyed it and would definitely do a class like this again. It never hurts to have some beautiful flowers around the house!
from
http://www.thriftydecorchick.com/2017/05/trying-my-hand-at-floral-arranging.html

No comments:
Post a Comment