What what? A Saturday post? I finished up a project today and I'm totally geeked about it!! I was waiting for one last bit before I shared it with you. As many of you know, I work with Minwax occasionally to share how I use their stain products on projects around the house. I've had this one planned for months and I'm so thrilled it's done!
I've mentioned a couple times that you'll see some repeat projects -- some that I did over the 13+ years in our old house, just updated and with a twist to fit this new house. It's been FUN to take projects I love and update them just a bit.
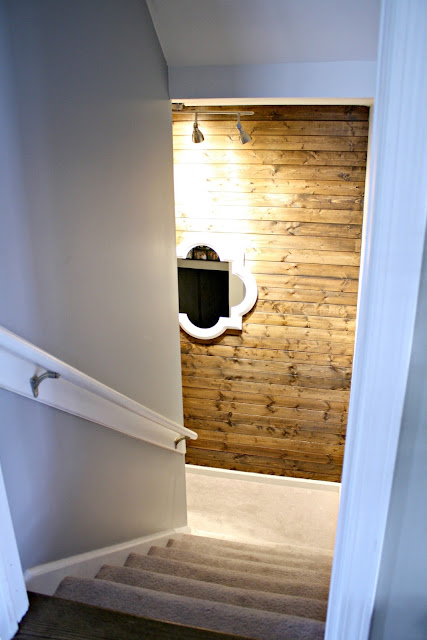
I loved the $50 stained wood wall on our old basement stairs so much I knew I'd be repeating it:
Make sure to check out that post for more details on the wood I used!
This time I wanted to change it up just a bit and I couldn't be happier with it!! I went with my go-to for planked walls -- the thin 4x8 boards you can find in the lumber aisle. This one was birch and they sell for around $30 a sheet. (If you're painting you can go with a much cheaper version I shared here.)
You'll need to have it cut down into strips and Home Depot or Lowe's will do that for you, which is AWESOME. I had mine cut to 5 3/4 inches because I wanted them a bit thicker than what I used before.
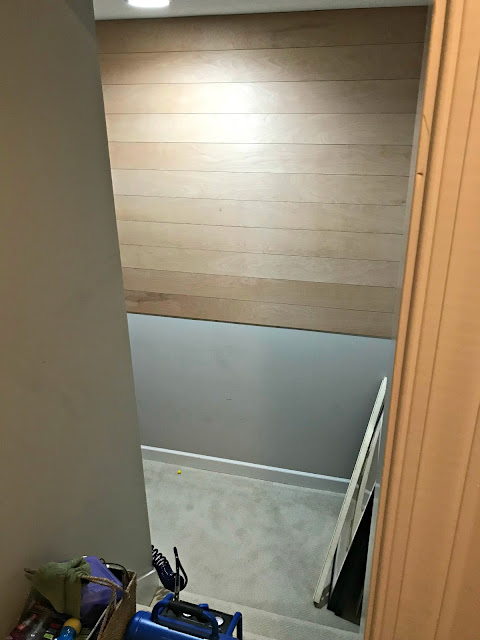
Before you start hanging the wood, give them a good sanding along the edges. It doesn't take long at all, and you'll want to do that to knock off any rough stuff from the saw. I always start at the top when installing because you can fudge behind the baseboards at the bottom if needed:
Make sure you use the right side of the wood! (The side opposite the price tag.)
You can use whatever you want for spacing but I prefer coins. :) I used a dime this time because I wanted a very small gap between each board:
Find where your studs are for the first board and then you can reference where you nailed as you go down.
At least for the first few boards, I always check for level. If you're off just a bit that "bit" will get bigger and bigger as you go down the wall. So I check the first few and then randomly as I go down:
I had two 4x8 boards cut down and had to have one more cut down as well for just a couple strips. (Our ceiling here is nine feet so two would be fine for an eight foot ceiling.) The total cost was technically$90, but most of the third board will be used for another project. So I'm calling this project about $70 or so. ;)
Yes, you can stain before you put your boards up. I prefer not to for many reasons, mainly because you may have to fudge with the lengths here and there. Then you'll have to touch up the ends again. Also, if you nail them up first and then stain, the holes kind of disappear after the stain. I do not fill the holes for that reason.
That and it's waaaay faster to stain it all when it's all one "piece" on the wall:
You can see there that I taped off around the wall and cut up a trash bag to go on the floor. It is a little stressful doing this on carpet!
Before you stain, give the wall a quick sanding -- nothing crazy, just enough to knock down any texture and any random edges you didn't get the first time.
Then wipe it all down with a damp cloth or a tack cloth:
You can see how much dust was on the wall from that light sanding!
Next, the step I've learned not to skip! I didn't do this much years ago and I've noticed a HUGE difference since I started conditioning the wood first:
This is super easy to do -- just wipe it on. It conditions the wood so the stain goes beautifully. If you ever get patchiness when you stain, this conditioner will help! You can see the difference it makes here:
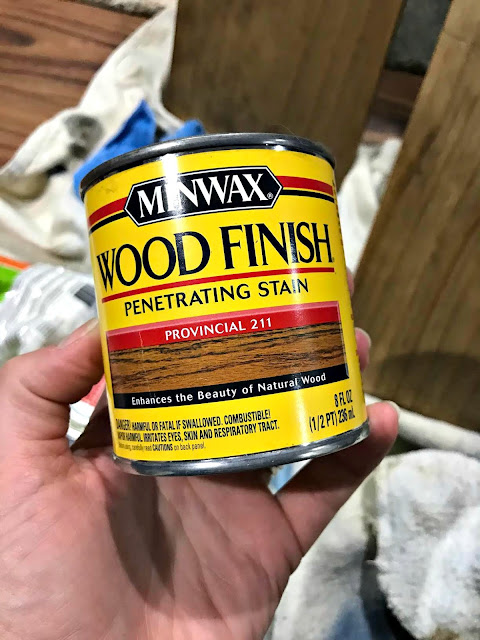
My go-to stain color in this house has been Provincial by Minwax. I used it on our island, the kitchen shelves and the chalkboard frame because it looks SO good with our floors. It's a great in between brown -- not too dark and not too light:
You stain the same way you add the conditioner -- gloves are a MUST! Get a rag and just dip and rub it into the wood. Using a cloth really helps to get into spots and is WAY easier on a vertical surface like this. It went super fast!:
Remember to give yourself plenty of time when you start staining -- you don't want to start and stop or you'll see where the stain dried and you started up again.
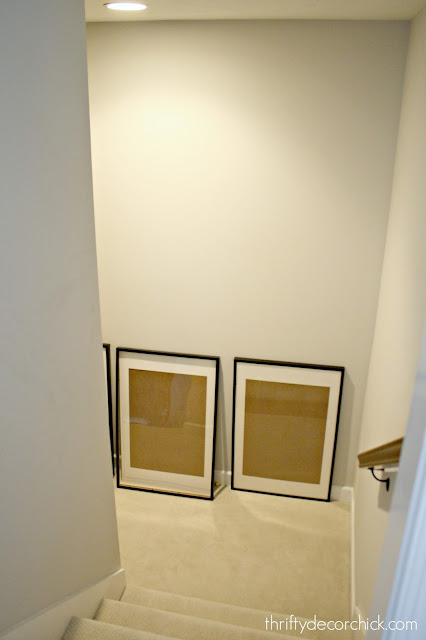
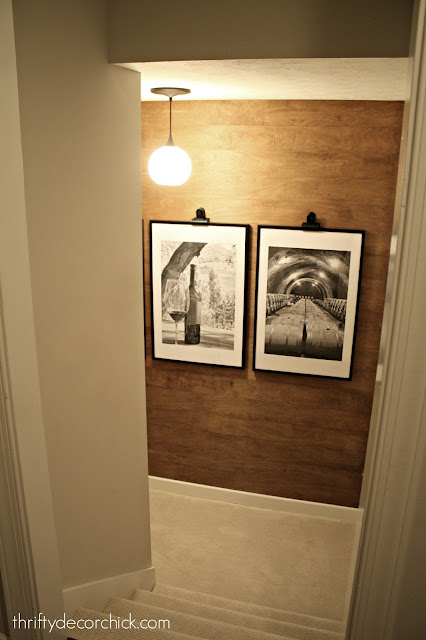
The large IKEA frames you saw in the photo up above were a happy accident. I bought them for our old house years ago and never used them. I tried to sell them a few times and never got any bites. They made it through the move and I immediately knew I wanted them on this wall! They've been leaning up against it for five months. ;)
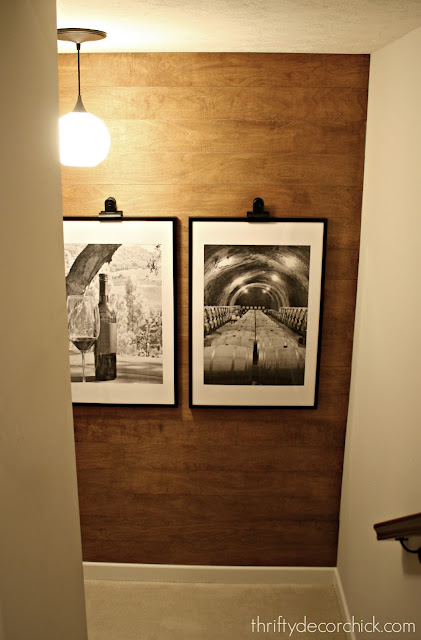
After the stain dried I could hang everything up! Here's how the wall came together!:
Forgive me, cause I'm going to share a bunch of pics for this one. Obsessed!! LOVE it!!
I used the engineer print from Staples trick for the frames -- have you tried this? If you don't know about it I'll blog about it sometime, just let me know! I got three huge prints for $10!
You just can't beat it:
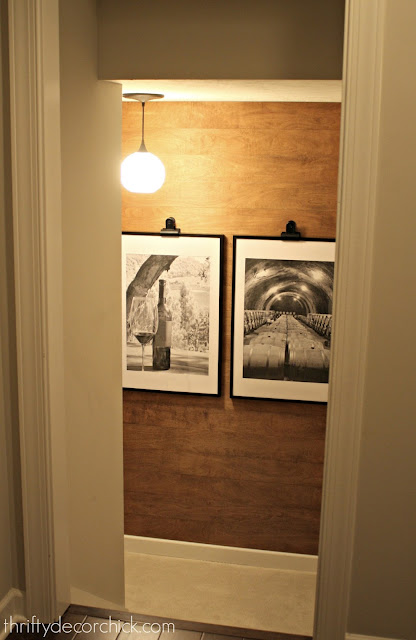
I didn't want to do family pics because I have those in our foyer (and on the basement staircase). We have Disney covered in the loft and NYC is covered in the basement -- so another favorite spot of ours is Napa. We thought it was fitting going down to the basement because we'll eventually have a great little bar are down there.
I grabbed some pics off my phone from our last trip and had them printed and we LOVE it!:
The new light fixture is from Lowe's -- it's actually the recessed light converter I told you all about with a pretty white globe I found there as well. You can't see it when it's on, but it's white and faceted and looks a little vintagey -- which is absolutely perfect in this spot with the black and white photos and the wood:
Oh! I forgot about one of my favorite parts! I saw these huge paper clips months ago and bought them for this wall immediately. You can find them (affiliate) here -- only $6 each! They are SUCH a fun little detail:
I hung the art and then just snapped those to the top of the frames.
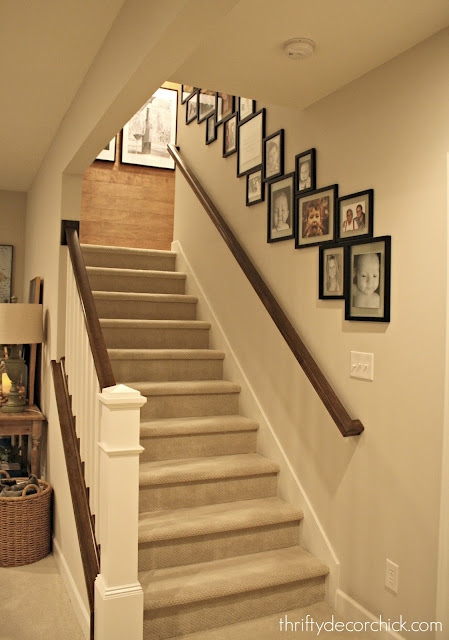
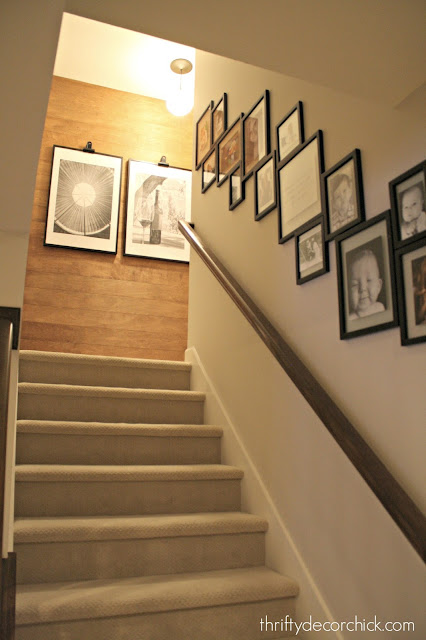
Here's a view of the wall from the basement -- and you can see how it looks with the new staircase gallery wall I shared a few weeks ago:
I've been excited to do this project because I knew it would look so good! I couldn't be happier with it and how everything has come together here:
This is a great weekend project -- it takes a few hours from start to finish. I didn't use polyurethane on the wall because I just don't think it's needed. If you do this in an area that gets a lot of wear and tear you may want to!
I love every single detail!
Because you know I love them -- here's a before and after for you!
If you have any questions let me know! Have a wonderful Easter!!
This post is sponsored by Minwax and all options are my own. I only work with brands I know and love!
from
http://www.thriftydecorchick.com/2018/03/creating-beautiful-wood-accent-wall-for.html









No comments:
Post a Comment