
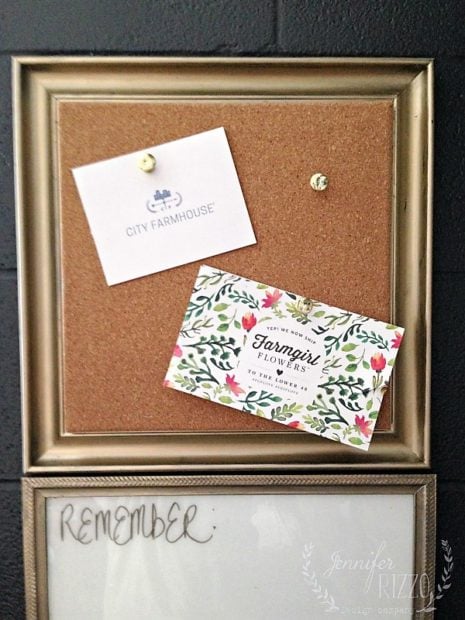
A DIY message center made from picture frames is a great way to stay organized, and add a pretty touch to your decor in a small office area.
(This post contains affiliate links)
I found at the shop, even though we had a centralized DIY message center, I needed something for myself for custom orders, and for a place to remind myself of the thousand, and five things I seemed to forget every day.

Plus, I have a very small cinder block wall area to myself,so it was finding something that would be functional, but look nice. I just couldn’t find anything, so I decided to make it. I had made a cork board a few years ago from an old picture and sheet music, and liked the result, but wanted something a little bit different this time.

I found a cork square at the craft store, and a a frame that the square would fit inside of. Where I found a challenge was the white board. I needed a dry erase board for my message center, but I found I didn’t like any of the real plastick-y looking ones that they had to offer, that’s why I decided to hack my own. I bought a frame on sale with glass in it to turn into my dry erase board. I also picked up some double-sided, heavy-duty adhesive tape to put it all together.

First, I removed the glass from the frames. the frame that the cork was going to go into, I added a piece of cardboard in it’s place. My cork will end up sticking to that with the double-sided tape. I painted my frames a pretty gold color with DecoArt Champagne Gold so they would match.

While those were drying, I painted the glass for my dry erase board with Multi-Surface Satin Acrylic Paint in Cotton Ball and let dry. It took a few coats for complete coverage.

I let that dry overnight. Once it was completely dry, I put it back in the frame, and added some white paper behind it, in case there were areas the paint didn’t cover completely.

Once I had everything in place, I had to figure out how to hang it. Since the walls are cinder block, and we aren’t really able to drill into the wall, so I decided to try super-heavy duty, double-stick foam tape.

The good news is the tape has held the DIY message center so far! I was worried about the bumpy texture of the wall, but so far it’s good.

It’s a great place to put custom orders, and things I need to remember, and special notes.

The post Picture Frame DIY Message Center for a Small Office Area appeared first on Jennifer Rizzo.
from
https://jenniferrizzo.com/2018/04/diy-message-center.html
No comments:
Post a Comment